
How to create a picture wall
Few ways of refreshing a room are as simple and effective as putting up pictures, and what better way to show off your eventing snaps!
SET THE SCENE
First things first, start with the backdrop. The ideal surface for your display is a plain, smooth wall. This will draw your eye to the images without conflicting with them. If you’re going for colourful pictures, a neutral colour is perfect. The paint will brighten the room and be less stark than white, but not so much that it will clash with any images.
THERE ARE NO RULES
Next up, it’s important to remember there is no set way of doing things. You could choose to go with black and white shots; bright, bold prints or art that you’re fond of.
Or you could choose a mixture of all these options – although it is easier to create a cohesive display if you stick to one medium. Try laying out a collection of images on a large surface to see how they fit together – if the colours are jarring, try rearranging or substituting out the worse offenders.
MAKE IT CONSISTENT
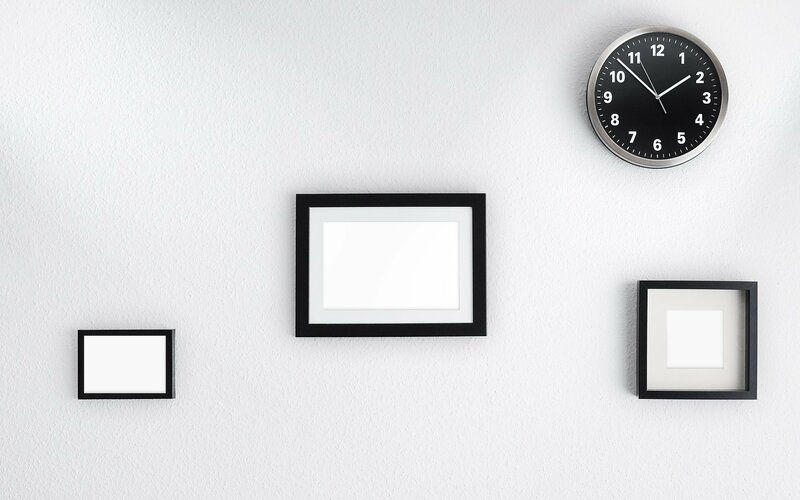
If you opt for an array of different media, you can add consistency by displaying everything in a particular style or colour of frame, for instance black and white, or gold, baroque, wooden or frameless. They don’t necessarily have to be the same shape and size – in fact, two or three variations is ideal – but a colour theme will add order to an otherwise diverse selection.
FINE THE RIGHT MOUNT
Classic whites and creams are always popular because they look clean and fresh and are easy to match, but you could opt for bold mounts to add a splash of colour to a plain room.
THE CORRECT ARRANGEMENT
Arrangement can be a contentious issue, with the question of whether the frames should be on straight lines or mixed up. If you have gone for identical frames, a grid pattern will be the easiest way to display them. Just be sure to measure the space between them, because even the smallest discrepancy could be amplified by the uniformity of the arrangement. If you’re using frames of different shapes and sizes, try using symmetrical arrangements on either a vertical or horizontal axis. These can look effortlessly ordered without looking regimented. Again, ensure the space between them is equal so the display looks ordered.
ON THE SHELF
For something more flexible, arrange frames on shallow shelves. It will allow you to add images and take them away, or totally rearrange them if you change your mind. The fact that your pictures will line up along the bottom will add order, even if the pictures overlap.
DO A TRIAL RUN
However you choose to lay out your pictures, it pays to mock up the layout with paper templates before committing to holes in the walls. Cut paper to the size of your frames and pop them on the walls, measuring the spaces between them, tacking them on with a masking tape, before stepping back to admire your handiwork. Only take a hammer to the wall when you’re totally happy.